|
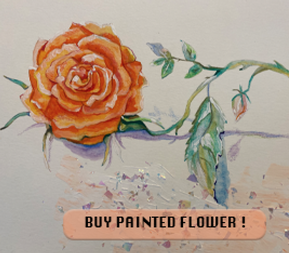
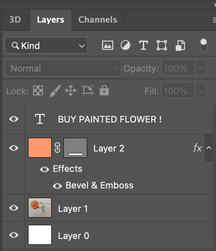
Some works become series when working on paintings. For example, a rose that I've been drawing recently for a painted flower store project is growing, and one day it will become a large painted flower shop. When I think of warehousing these tasks while doing all the step-by-step tasks, the fatigue piled up will disappear, and I will be happy all day long. So, today, I want to show the step-by-step growth by dividing these works into one category, so I will make a banner to introduce the results on a project basis. First, open a new Photoshop document 300 pixels wide and 250 pixels high. The size of a standard banner ad. Since the banner is only used online, you can keep the resolution at 72. 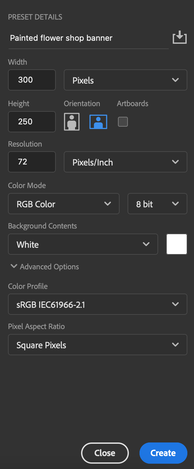 Add one more layer. 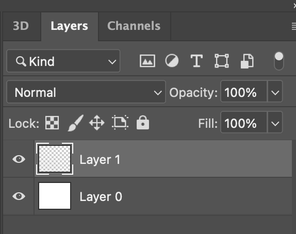 Load the image you want to use and paste it on a new layer.  Use the Rounded Rectangle Tool (U) to create a button near the bottom of the ad. 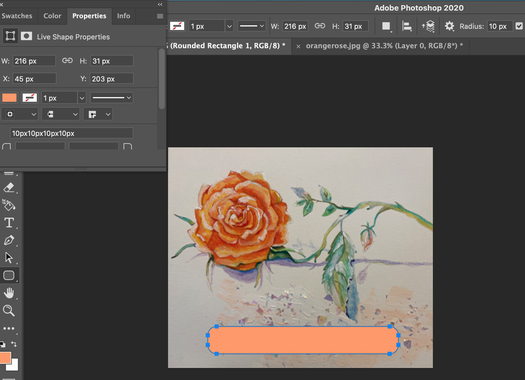 Add a mask as shown below to highlight the new shape layer in the Layers panel. 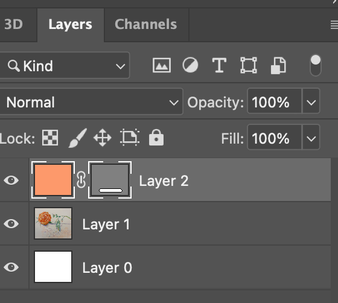 Select the drop-down menu and choose Bevel and Emboss. Set the style to 50% for Inner Bevel and Depth. 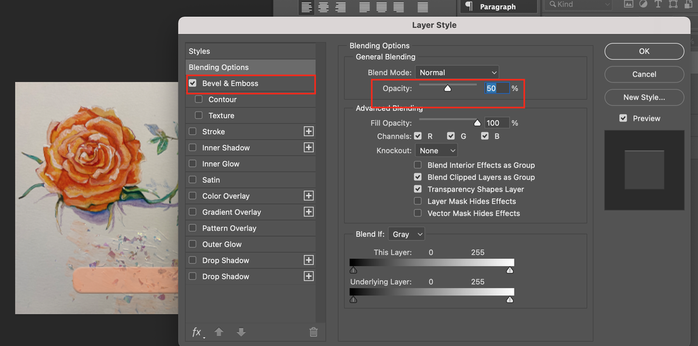 Add a new layer to the file and use the Type Tool (T) to create a button "Buy painted flowers!.
Then create another layer and use the Type tool again to create the basic message for the banner. 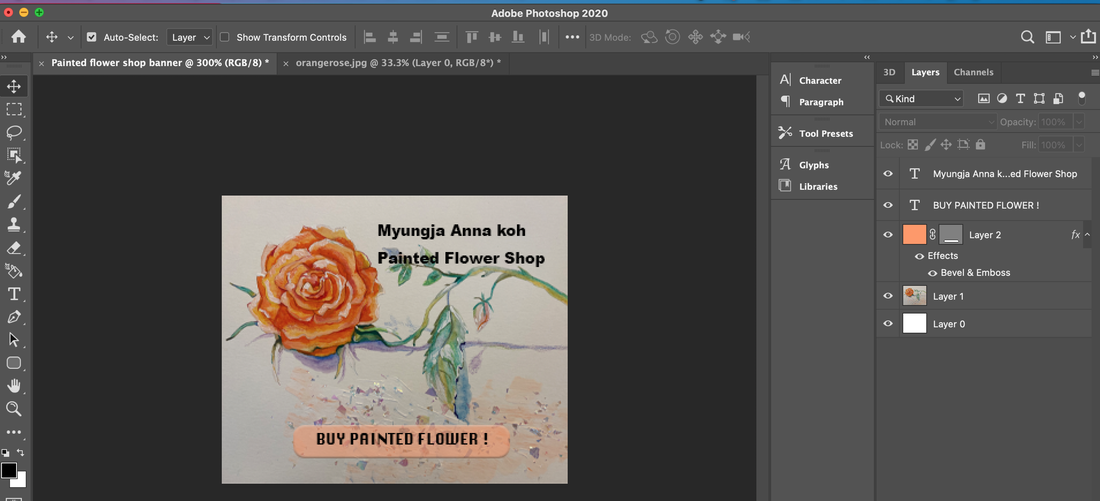 Go to the window timeline to create the animation. 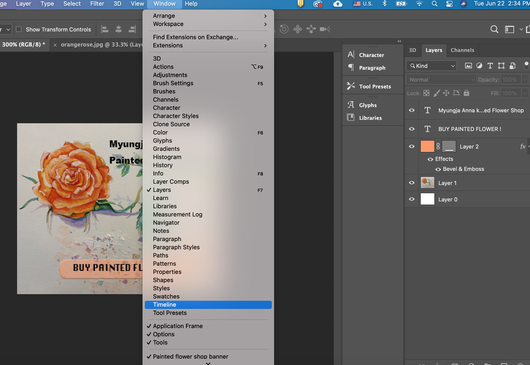 Now let's create a simple animation to make the banner a reality. With the first animation frame selected, toggle the button layer and both text layers invisible. 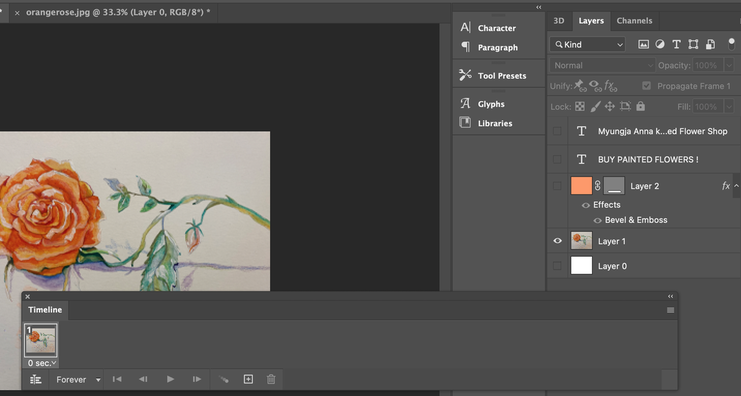 Create a new frame in the Animation panel. Redisplay the default message layer in banner ads. Move the text up so that only the last line is visible. In the Layers panel, set the opacity of this layer to 40%. 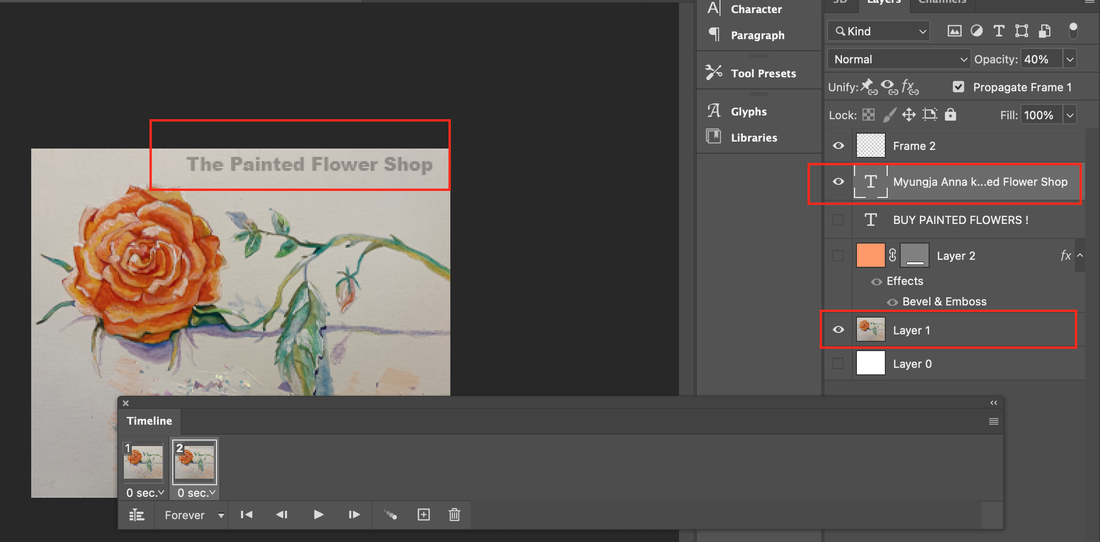 Create a third frame and move the text further down so that most or all of the text is visible and increase the layer opacity to 70%. 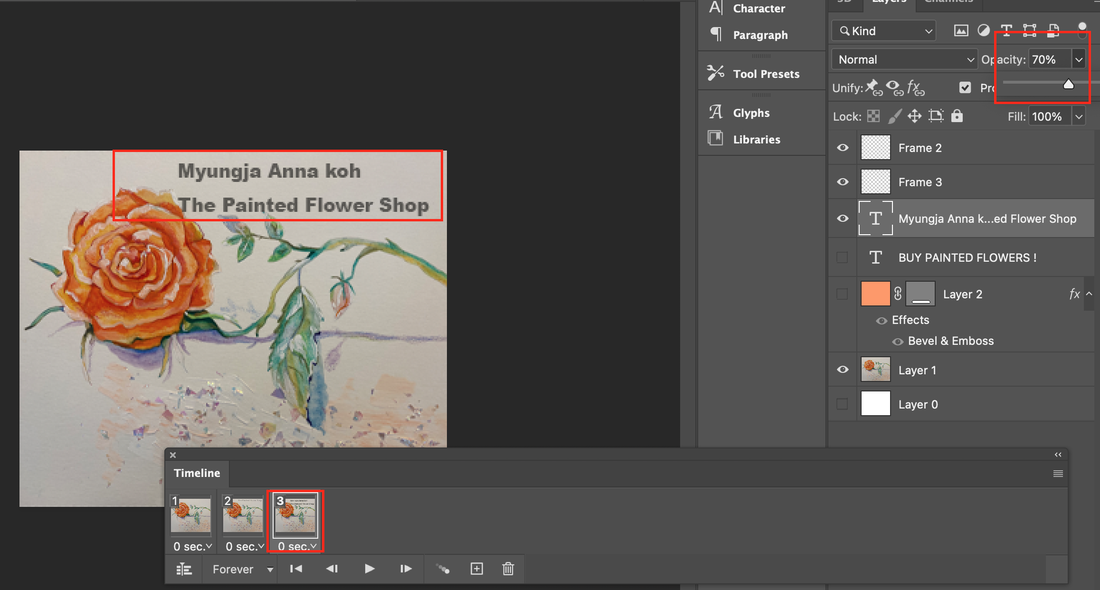 Create a new frame and move the messaging text to its final batch. Increase the opacity to 100%. 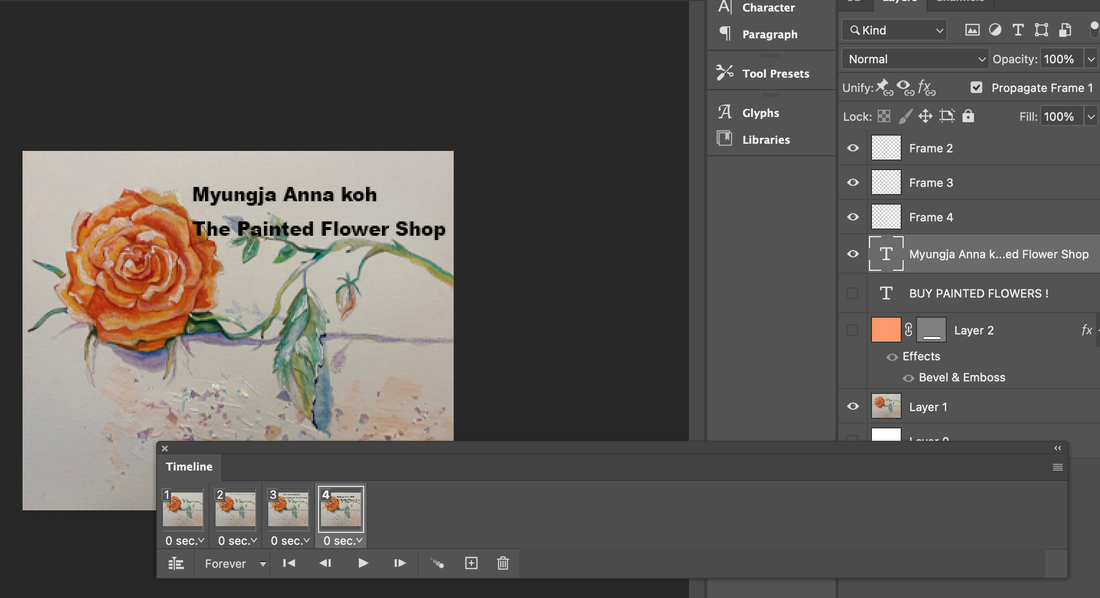 Create a fifth frame and display the button and button text layers. Each frame will have “0 seconds” displayed below the thumbnail. Use the drop-down menu to set Frames 0.5 sec. Click the “play” icon in the animation panel and you will see the banner ad in action and you can adjust the timing if necessary. 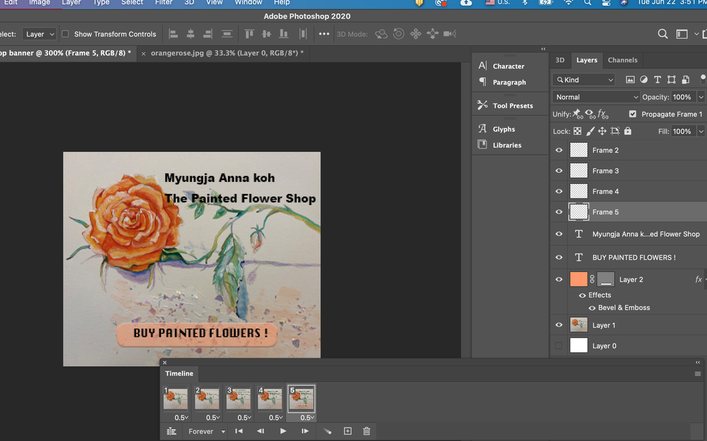 Create another layer to give the button a twinkle effect. And make the background button of the text invisible, leaving only the text 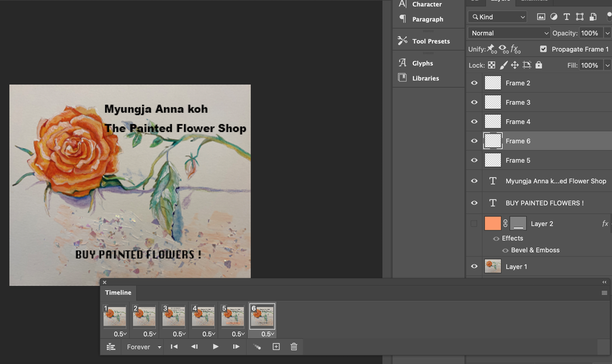 Create the 7th action flame layer, select the layer with the button and text together. 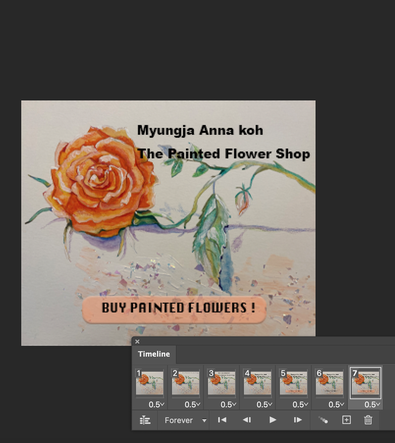 To complete your banner ad, go to File > Save for Web & Devices. Select GIF as the file type from the second drop-down menu at the top and click Save.  Below is the completed GIF file. I hope you all start a successful business by creating your own awesome advertising banners. 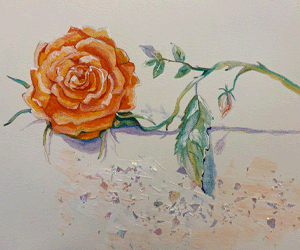
0 Comments
Leave a Reply. |
Myungja Anna KohArtist Categories
All
Archives
July 2024
|

|
Tutorial |
 RSS Feed