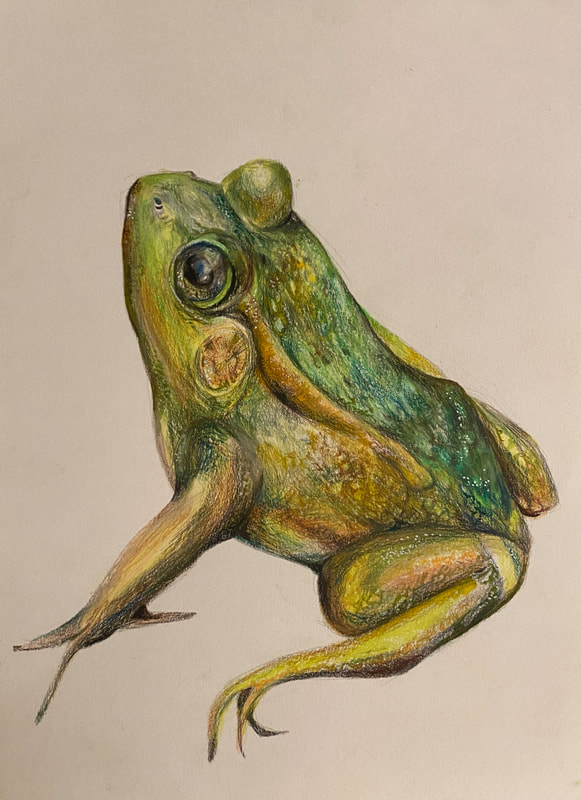
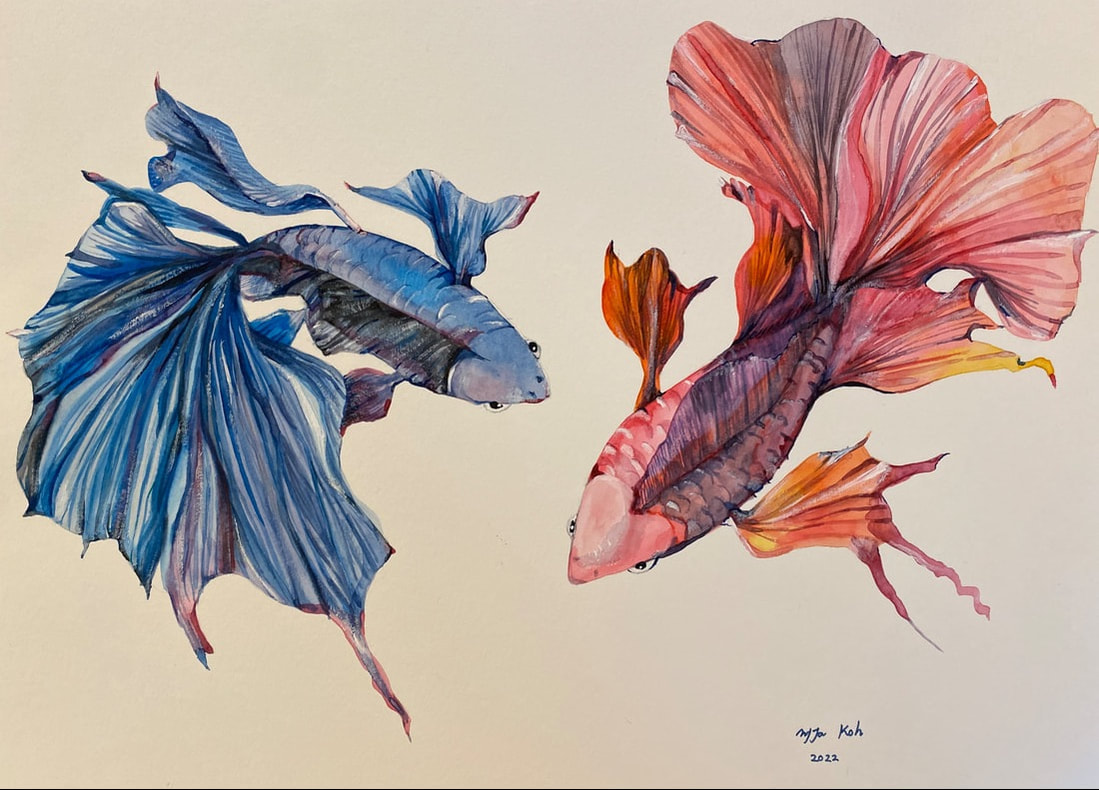
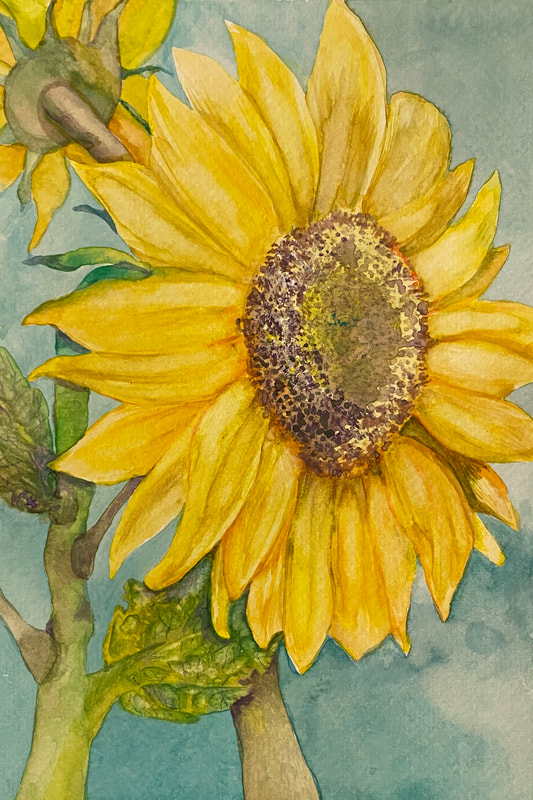
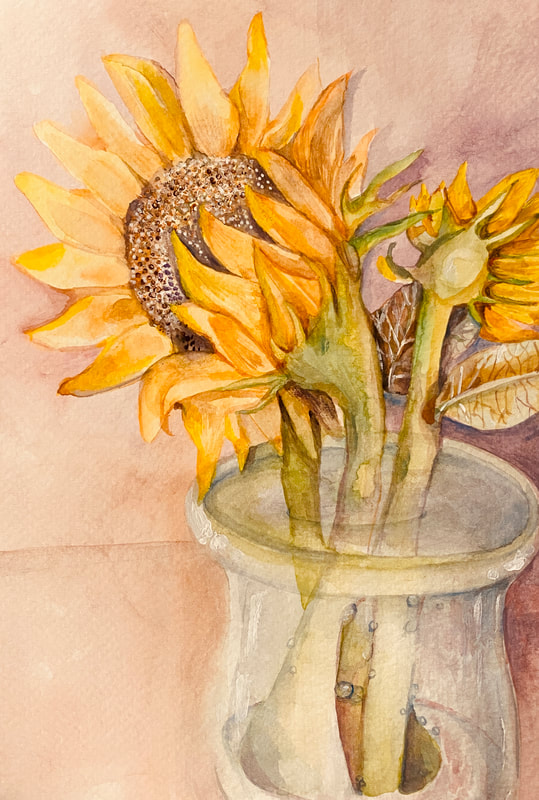
Making a frame with a mat Now, to prepare for the watercolor group exhibition to be held from July 1st, I have selected the picture below among the drawings I have drawn. 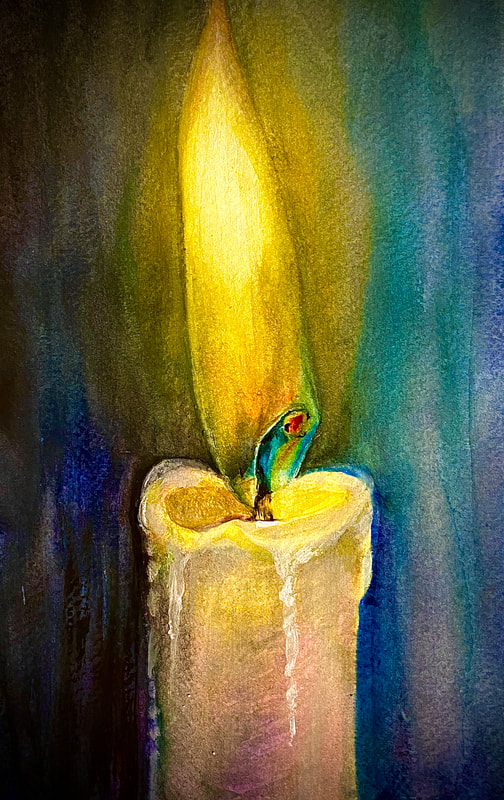  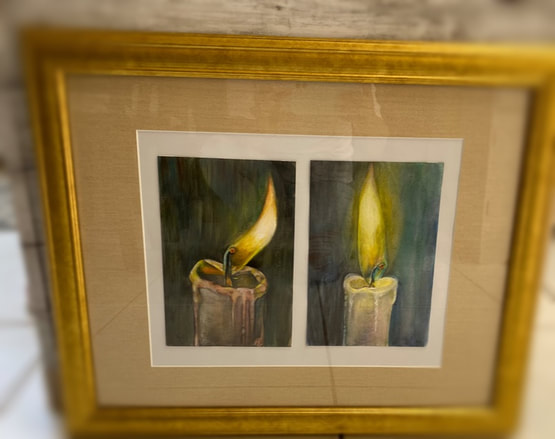 After selecting a picture and putting it in a frame, the full-scale exhibition preparation begins. The mat (“mount” in British English, or passé-partout in French) is a sheet of paper that resides between the image and the frame, creating a field of light or color around the picture. A mat provides multiple functions, both protective and aesthetic. 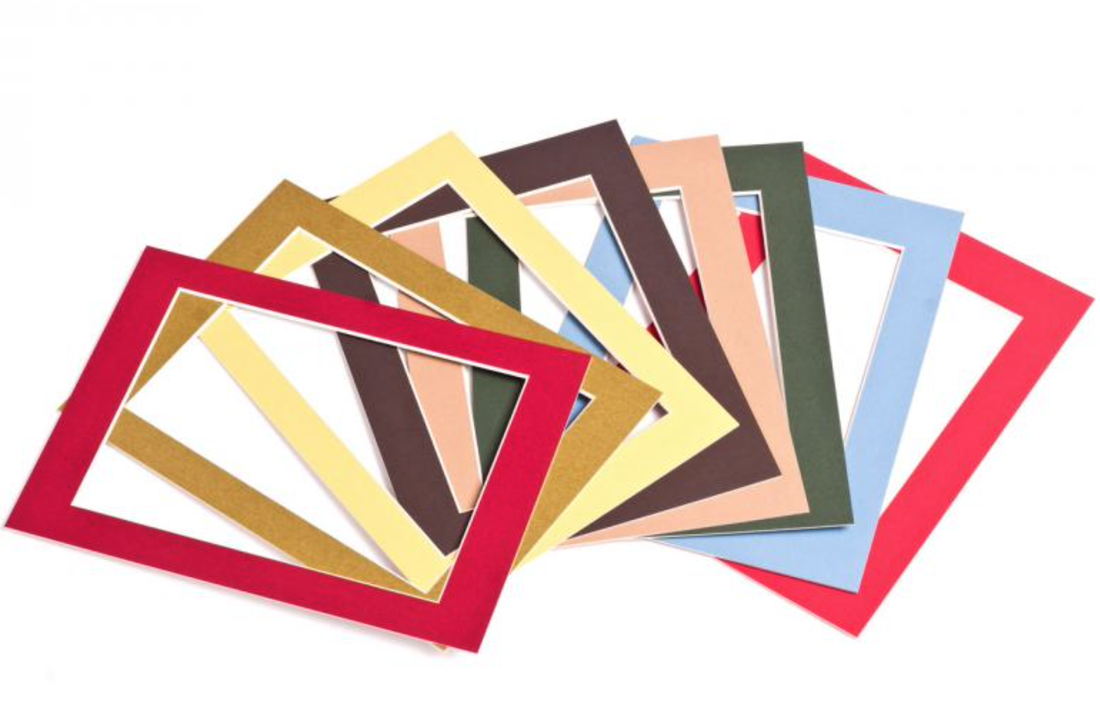 And I put these two pictures in one frame and made a frame like the one above. Adding a mat in the frame has an aesthetic effect, but the mat also serves to protect the painting itself. Inside the sealed frame, the mat protects the picture from moisture, A mat creates space between the artwork and the glass or acrylic in the frame, protecting the painting surface. From the begining, a mat was part of the frame and was made of wood. At the same time, for paper art or book pages, the mat was drawn around the main image right on the top of a piece of paper. It meant to emphasize the importance of an image, as if separating it from the frame and drawing in the eye’s attraction. In this times, the mat has become an art form in itself. There are many opinions about whether to use mats or not. However, in terms of aesthetics and protection of the painting itself, mats play an important role. Reference: https://imageframer.net/articles/history-of-the-mat/
0 Comments
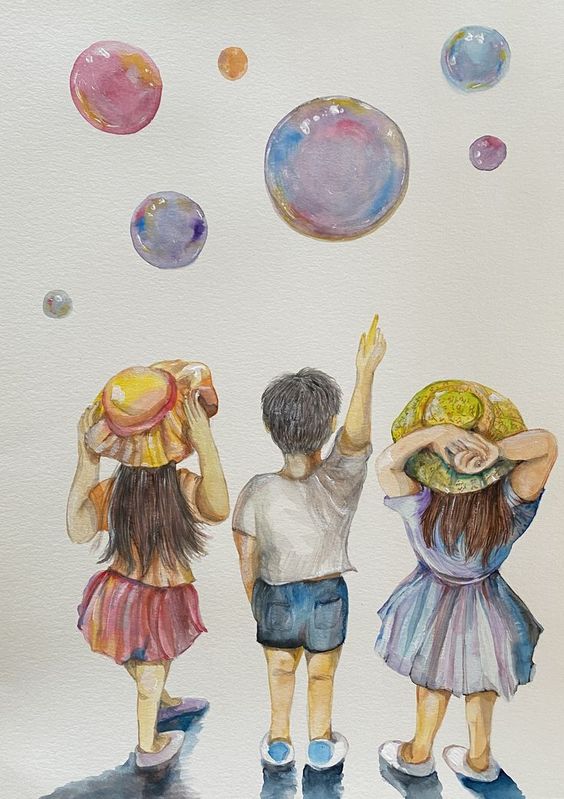
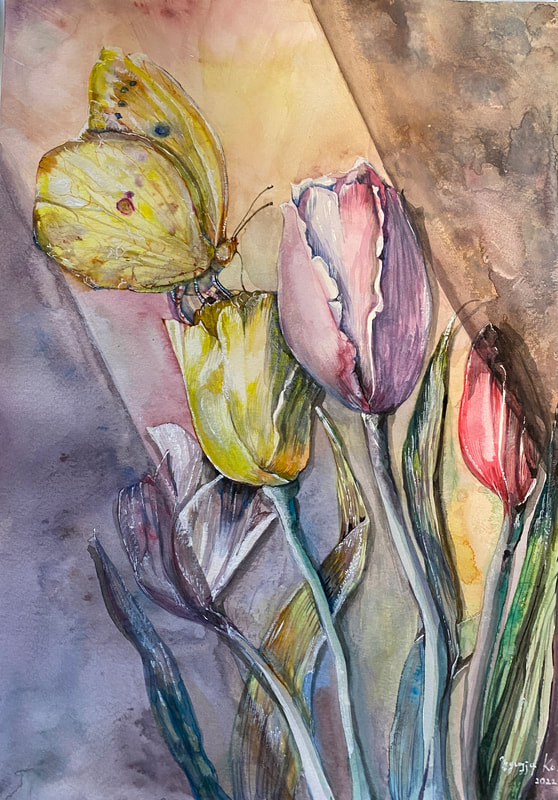
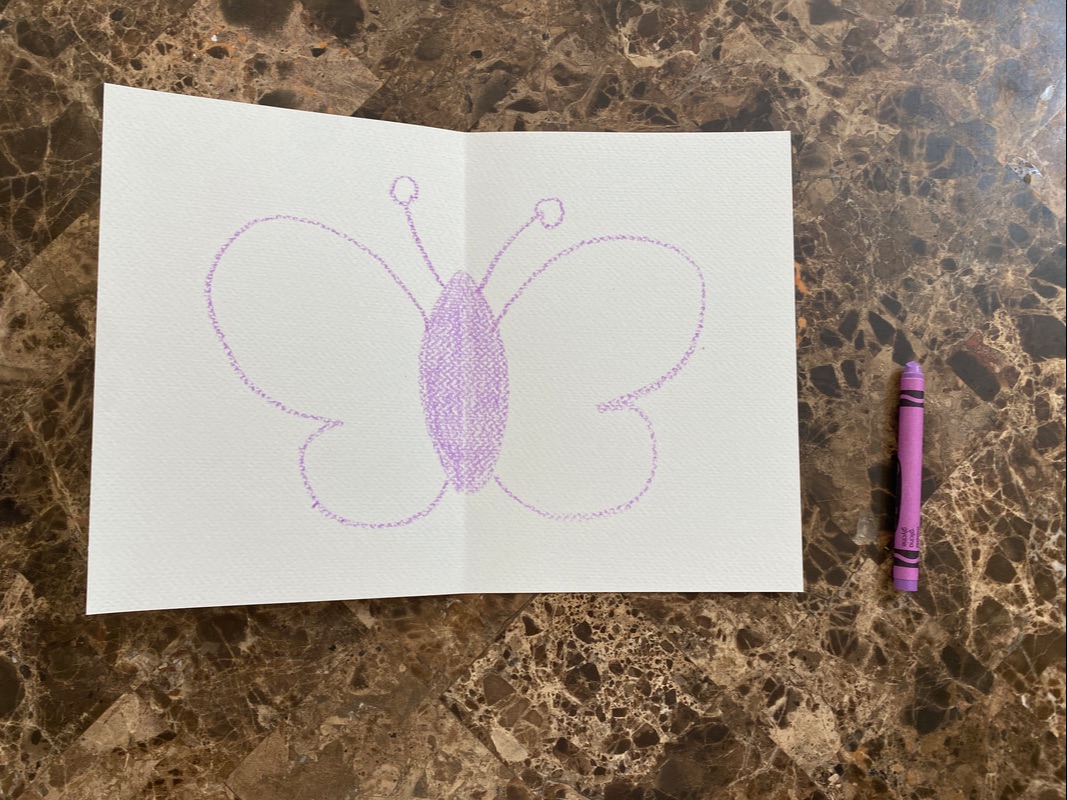
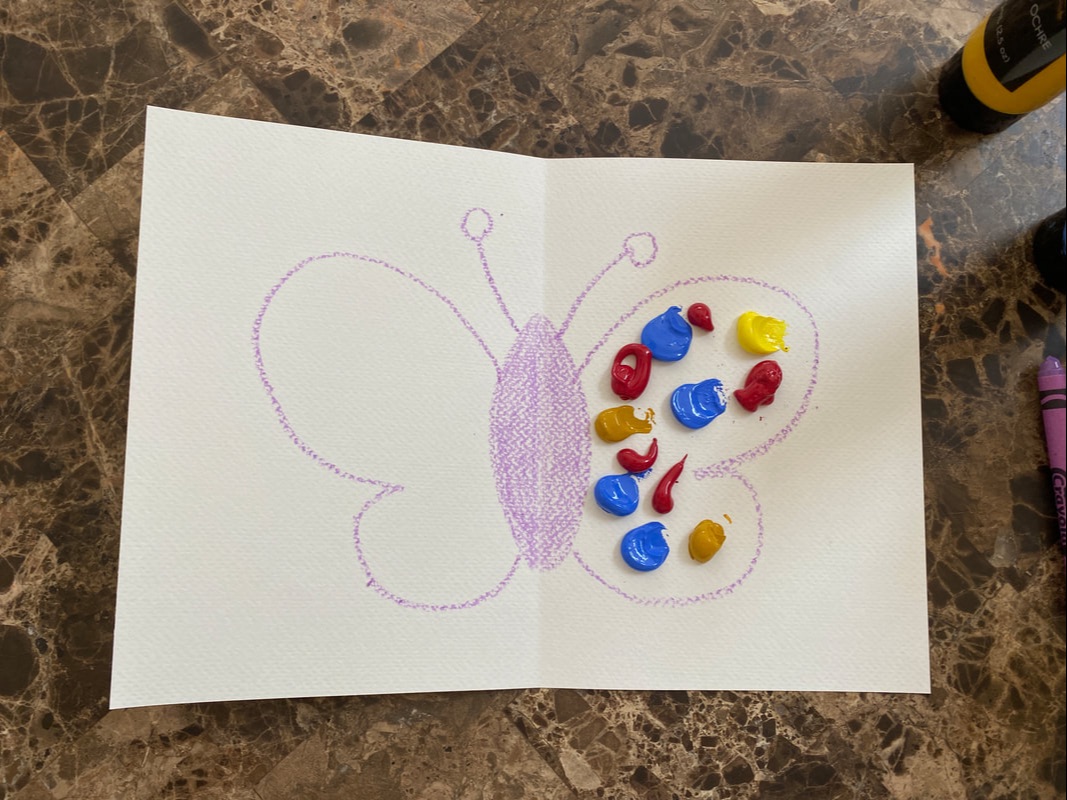
watercolor paintings by 1 dollar watercolor paints.How to make a butterfly with kids easily. Today, I made a simple butterfly with my daughter.  For making above a butterfly, we need the paper, sized 7 x 10 in (17.7 cm x 25.4cm) as follow below. The paper doesn't matter which purpose is fit such as watercolor or acrylic. It should be just white paper. 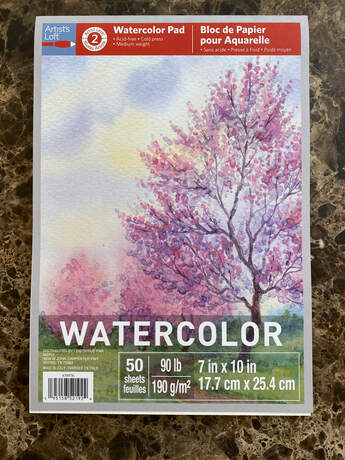 First, fold the paper in half. 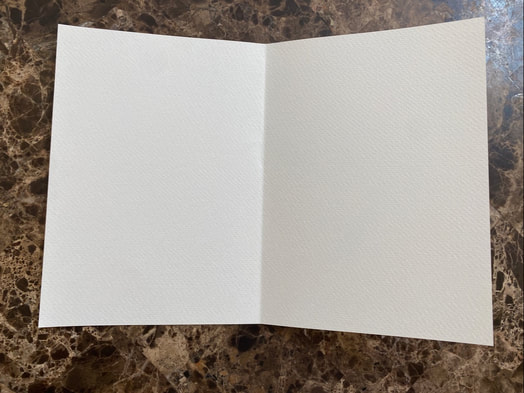 Then draw the shape of the butterfly with crayons. (like left) Next, put your favorite colored acrylic paints on the single side of the wings like the right image.
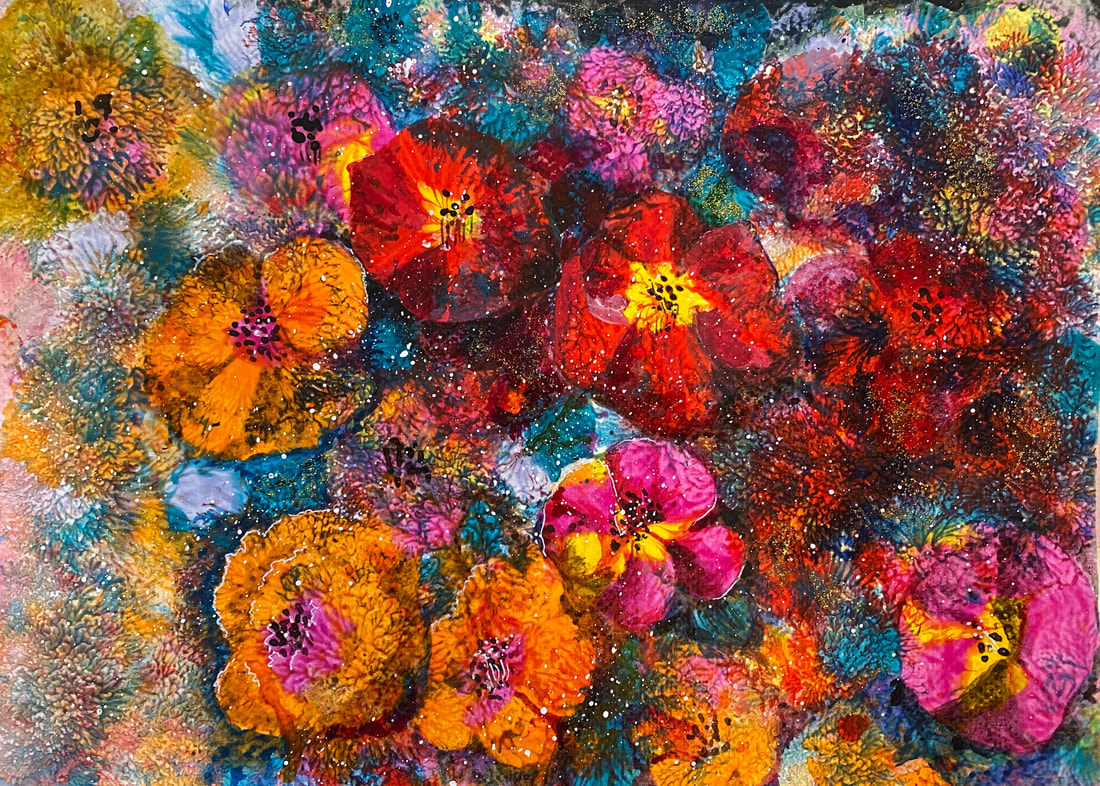
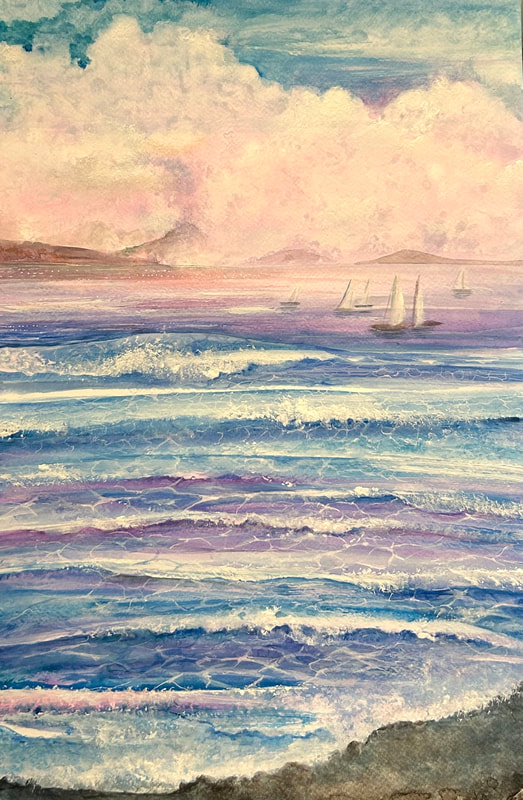
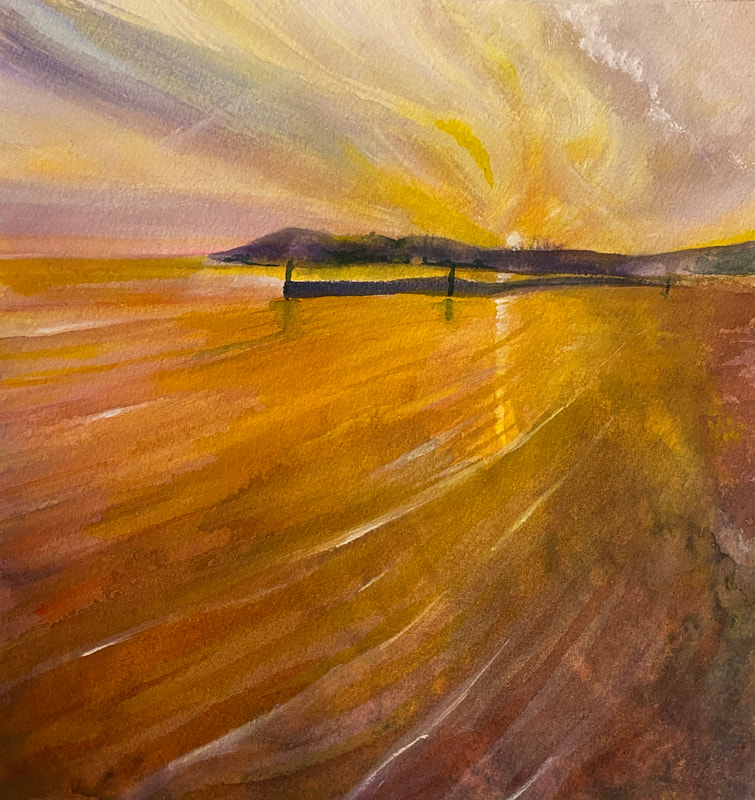
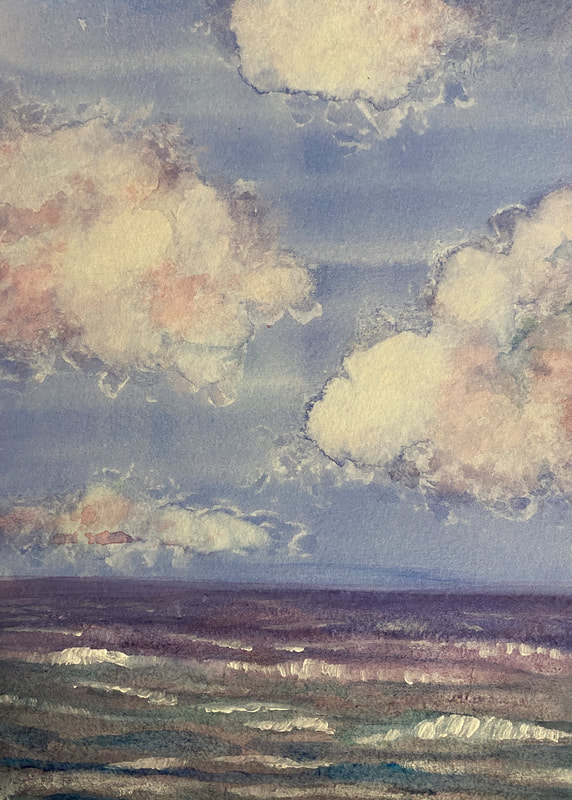
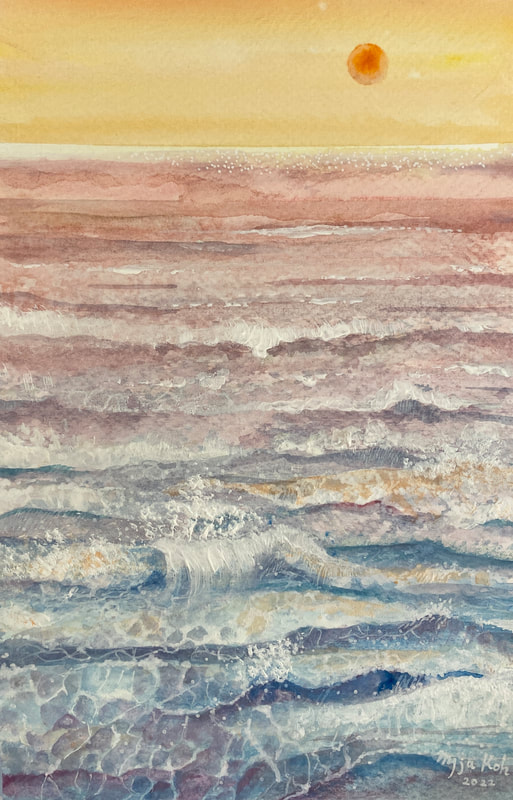
Then, fold it well and press it. 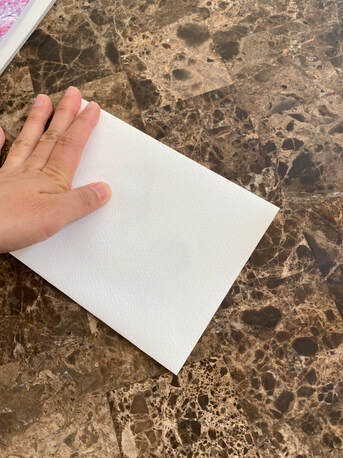 When you open the folded paper, you can see the art show created by chance as shown below. Fill in the blanks in the picture below with a brush to make a butterfly shape. 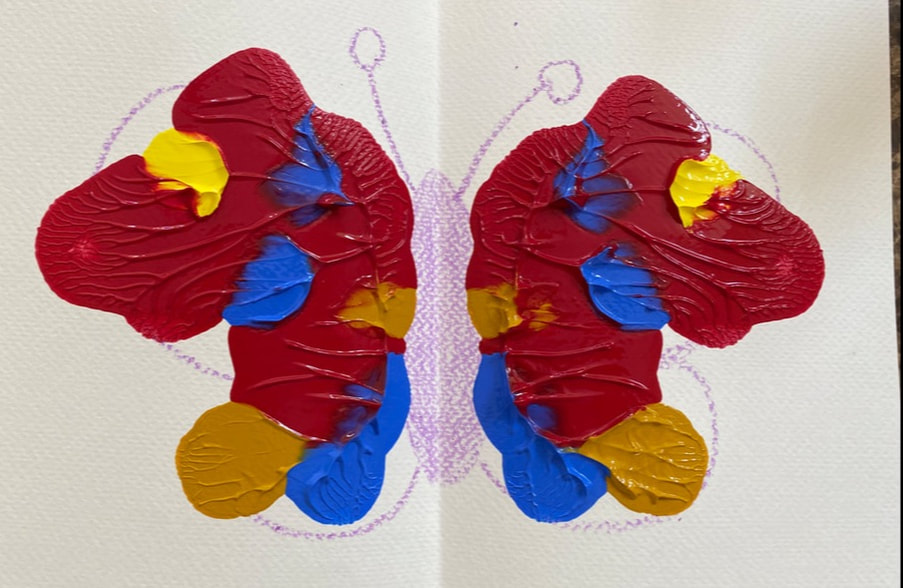 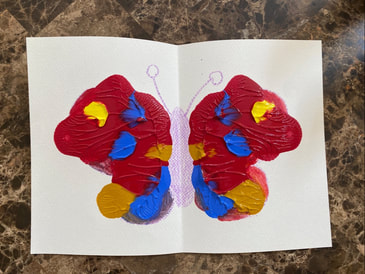 Glue the eyes over the butterfly's antennae. 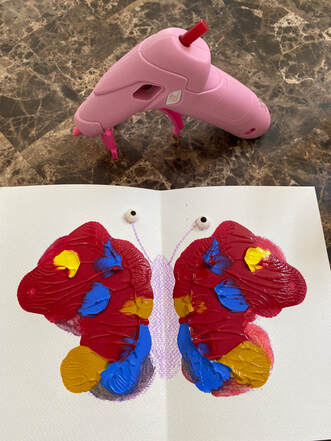 Below is the result after attaching eyes. 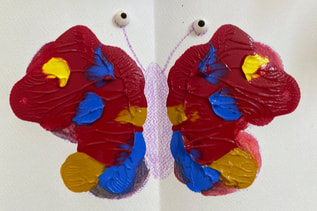 Here is my daughter's works!  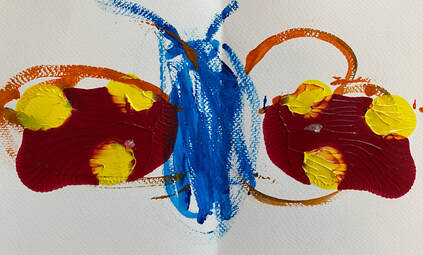 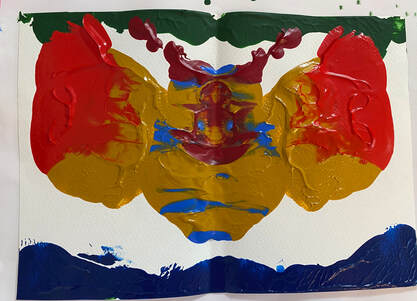 The process of Playing fish with red flowers. I recently completed a picture of a red flower and two playing fish.  First, I drew the flowers in the order that came to mind.  And under the flower, I gently drew two fish playing with the flower. I drew it without a sketch because I drew what came to my mind.  Then I drew a medium contrast. 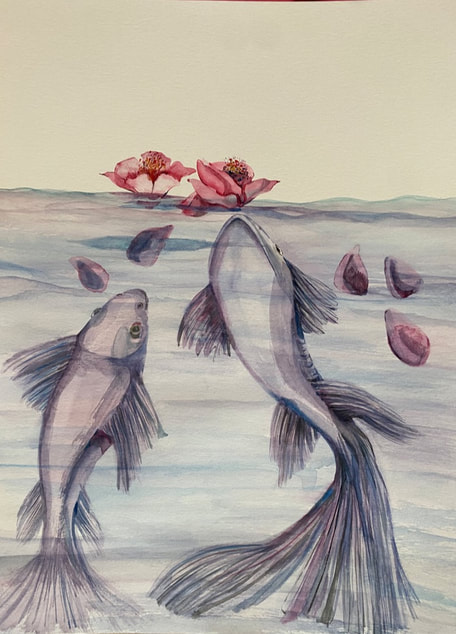 And I finish the detail by drawing the darkest part. 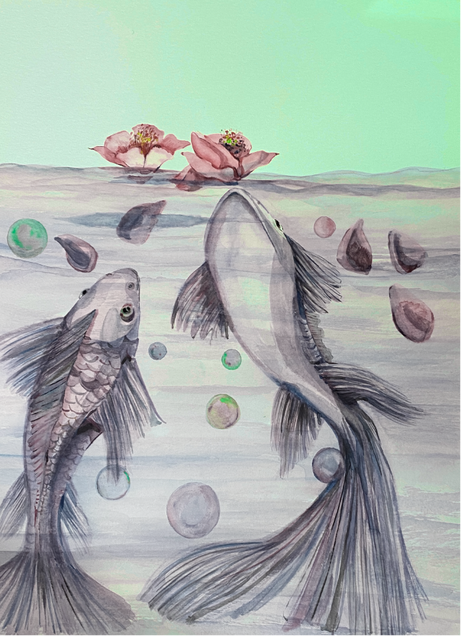 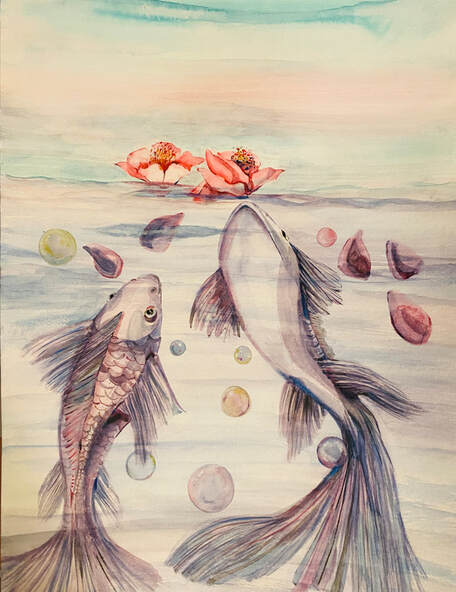 Finish by redrawing the details as shown below. 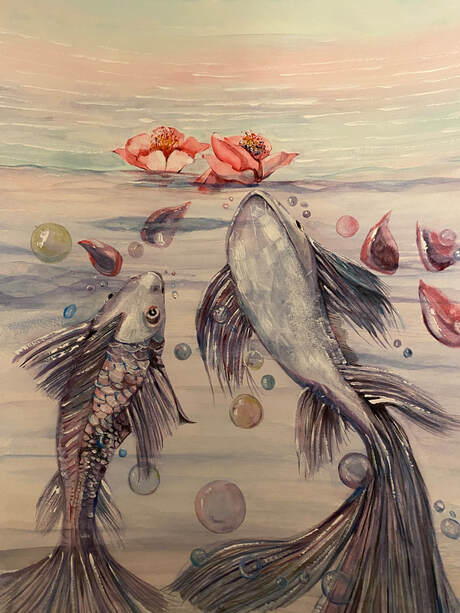 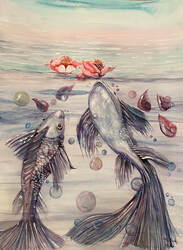 The making Process of another view from Sand Street beach. Sandstreet Beach used to be a cottage for duck hunters long ago. A small hut on a beautiful beach doesn't seem like it at all, but it conveys a quiet and lonely mood. It's not good to have only one thing in the center of the composition, but I think we should make an exception this time. 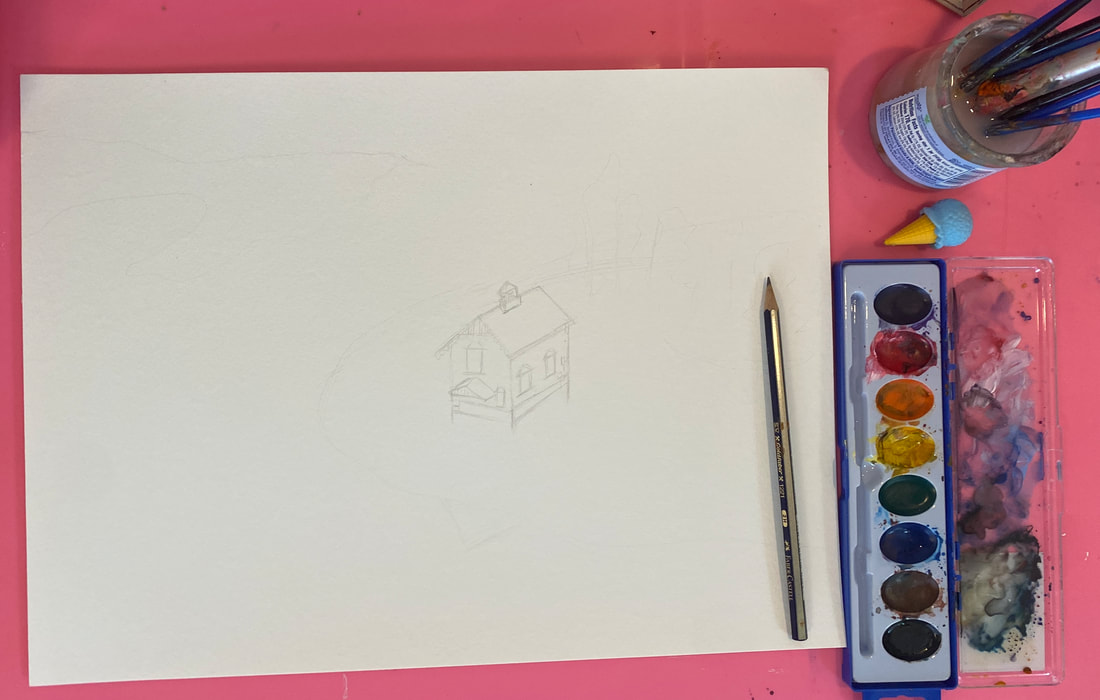 Since watercolor paints become messy and not easy to correct if you continue to paint over them repeatedly, you should first paint them with a bright color and refrain from painting multiple times if possible.  Once I've finished the most blurry parts, I'll do the mid-tones and, occasionally, detail. 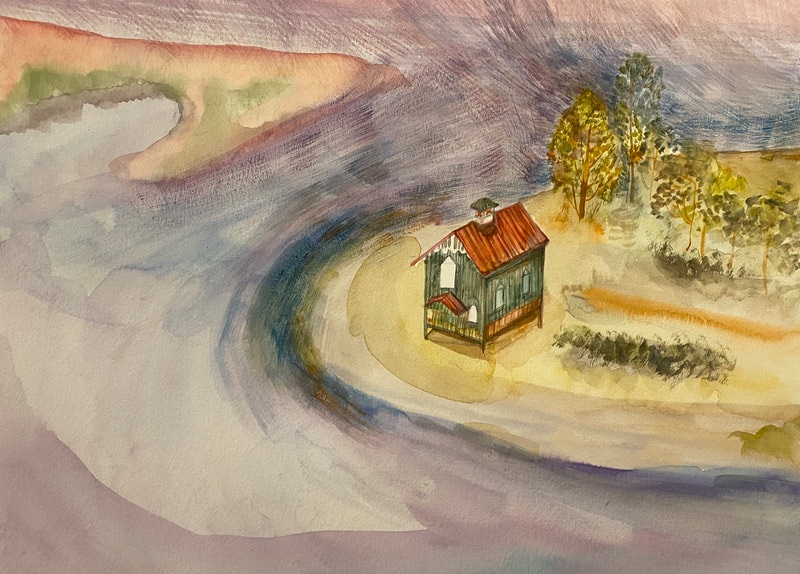 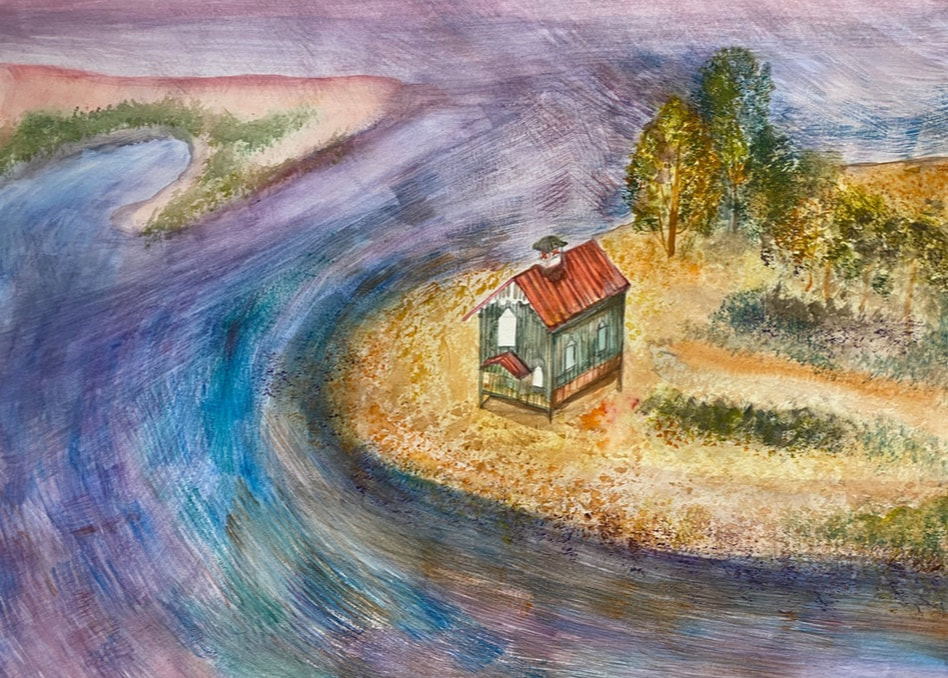 I wanted to paint Sandstreet Beach on a windy and rainy day. 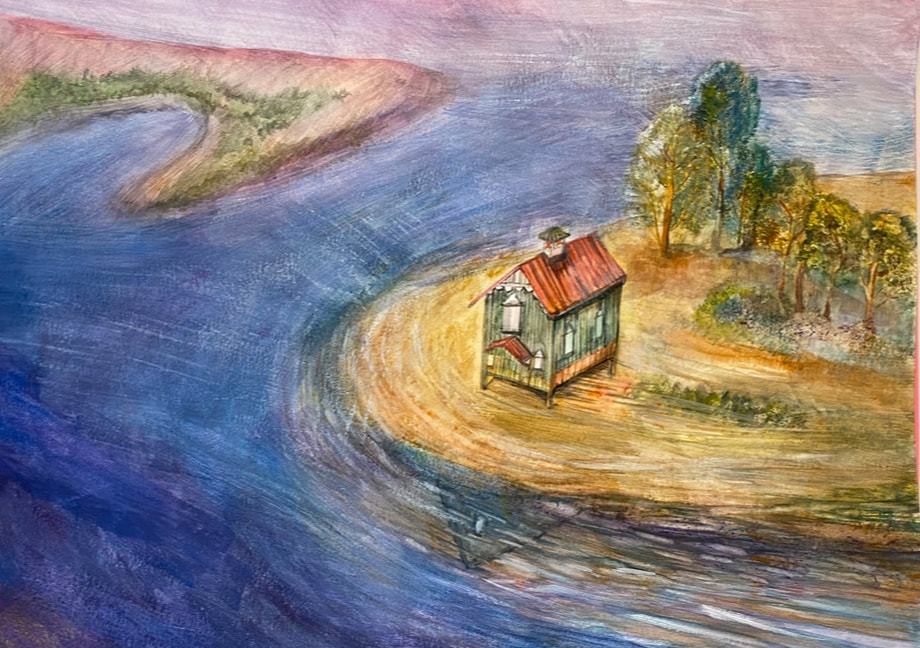 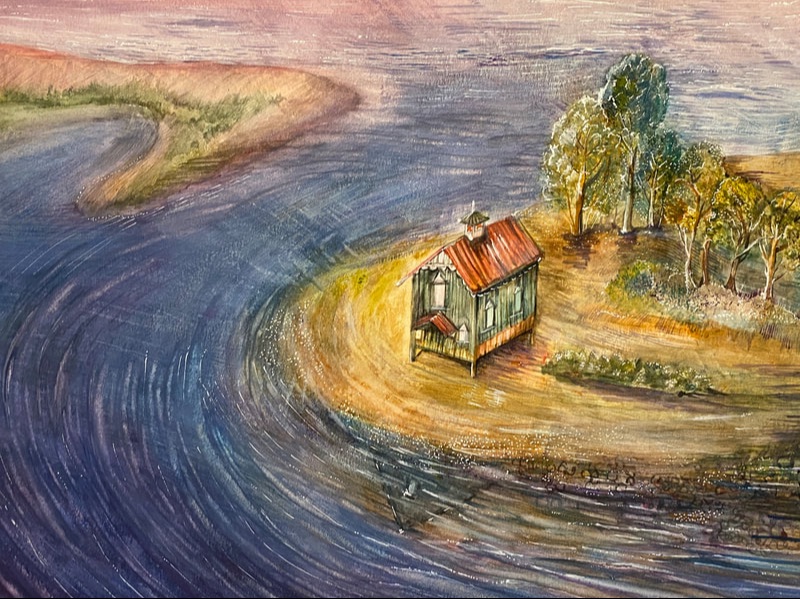 It's not a good example compositionally, and the view looks awkward because it was drawn with a drone view, but I'm very satisfied with it because I personally wanted to draw it like this once.
|
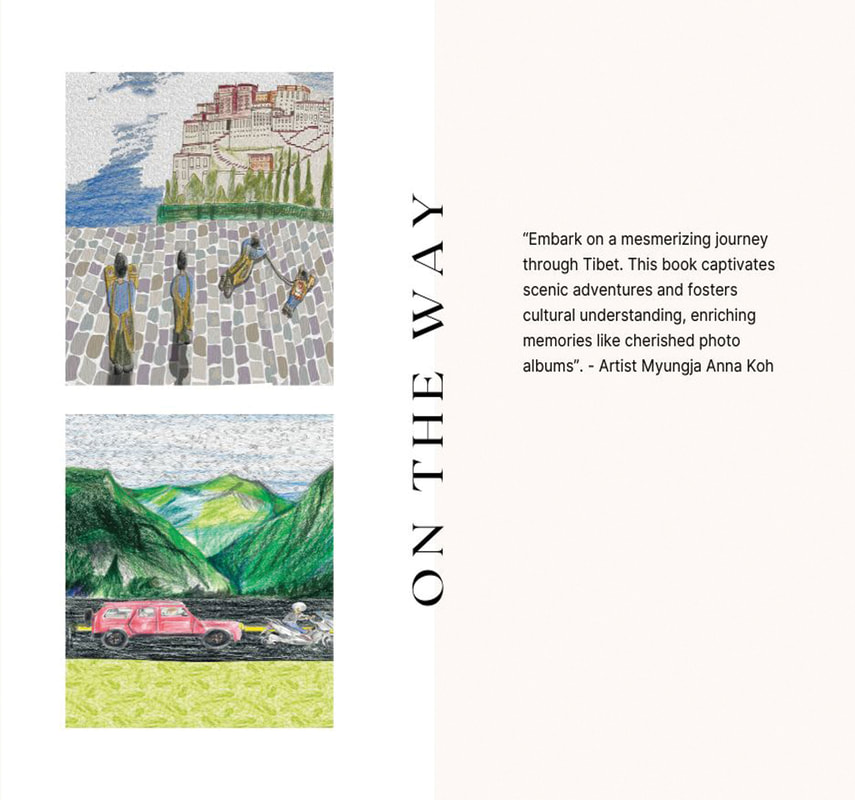
Myungja Anna KohArtist Categories
All
Archives
April 2024
|

|
Tutorial |


 RSS Feed